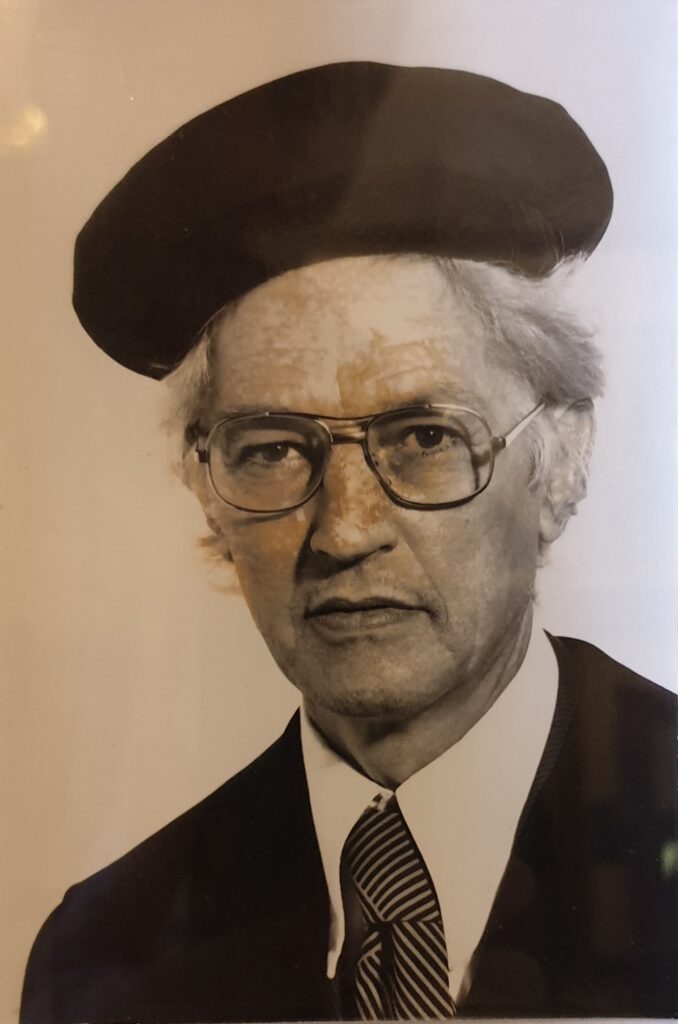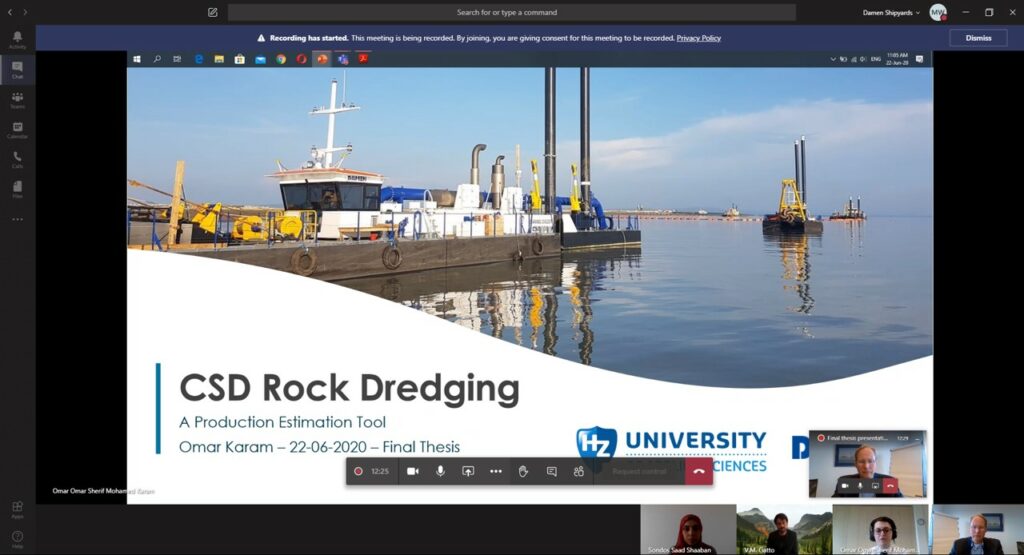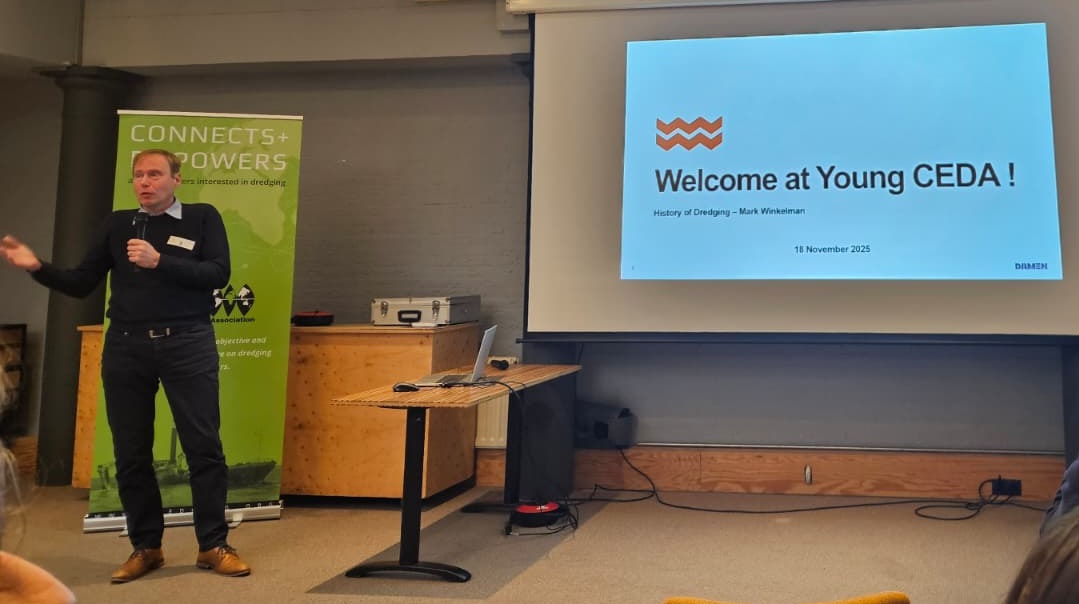
Last Tuesday, I gave a presentation for Young CEDA1. The topic was to be about the history of dredging2. And I happily accepted the invitation to educate the younger generation into the tradition of our craft. I consider myself somewhere in between. Not part of the old generation, but past the younger generation. Though I am old enough to have heard the old guys talk about their history and their knowledge of where our modern industry came from. In particular those stories came from the lectures by professor Jan de Koning3 I attended as a student. He really was able to put a perspective on the origins of processes and technologies. Some of those stories have been recounted on my website already4. The oldest dredging project5, the oldest rock cutting technology6 and the oldest dredge canal7 still in use. They were all there at the presentation that evening.
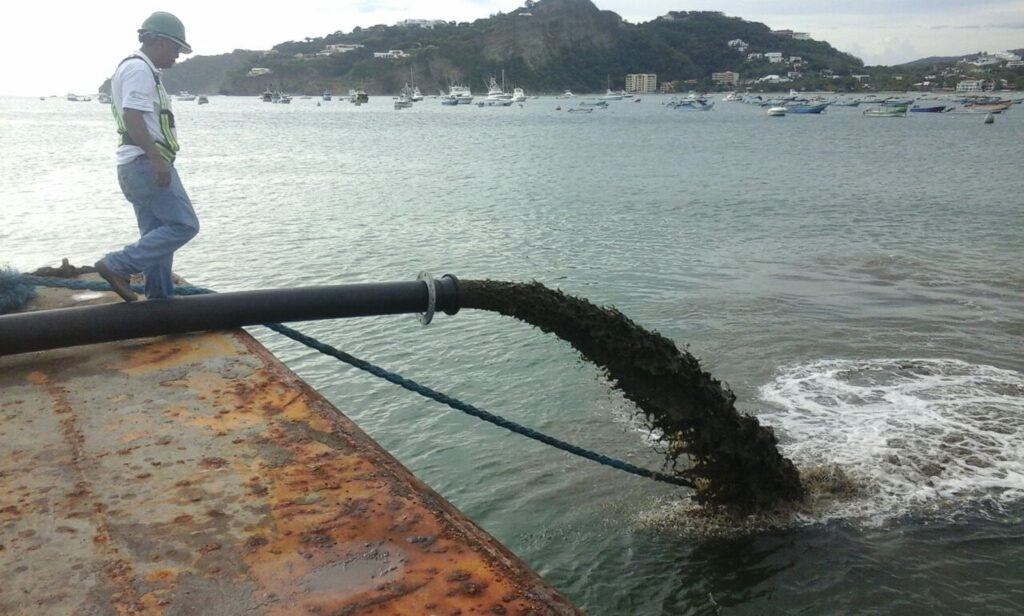
Here I would like to focus on another development presented that evening, but new on my website. A well known tool in the industry was the dredge scoop8. It has been used for ages, until even recently. However, the working depth is limited to the length of the stick. Longer would make it hard and impractical to use efficiently. In ancient Persia, there were three Banū Mūsā brothers9. Three scholars in 9th century Baghdad, who worked on astronomy, mathematics and engineering. Ahmad Banū Mūsā published ‘The Book of Ingenious Devices’10 which described a tool to pick things up from underwater, specifically oysters.
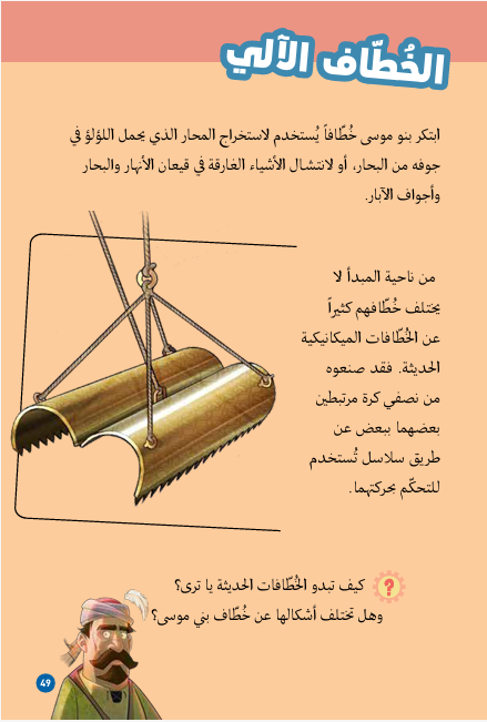
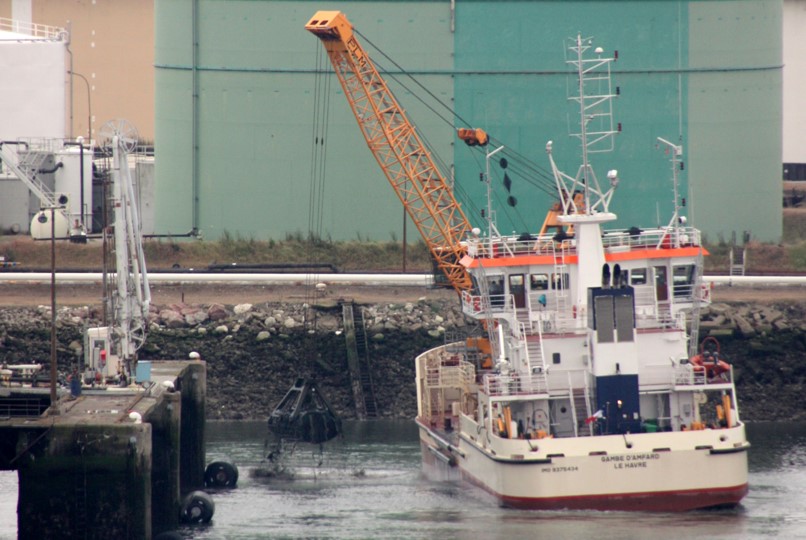
Ahmed Banū Mūsā described in detail the phases in the cycle: lowering, closing, lifting and opening. And it already looks very familiar to the grabs we are using today in the dredging industry known as a clam shell grab. Modern versions are constructed from steel and hydraulically operated. The capacity is usually a couple of cubic meters. But there are designs of up to 200 cubic meters11. The advantage of grab cranes is their simplicity and employability. Whether sand, clay or rock, special versions can adapt a crane to the requirements of your project. The disadvantage is that they can be messy and it is a discontinuous process. Usually involving multiple barges, making them labour intensive. Still, with the right experience and man power, this is the tool of choice for many countries.

One of the most important phases is the closing process of the clam shell grab. Here are the limitations on the power and operating speed, that are the most important in the calculation of the cycle time and equipment capacity. Sape Miedema has proposed a model for this phase in the grab cycle12. The rest of the cycle is just adding up the operating times and multiplying by your number of cycles.
Sometimes the grab crane is placed on the barge itself to reduce the total investment and running costs. When looking for such a vessel, it can also be interesting to consider adding a trailing suction pipe or a DOP pump to make the vessel even more adaptable to the project requirements.
References
- Young CEDA, CEDA
- Young CEDA, CEDA-BE & CEDA-NL Event, CEDA
- Tag: De Koning, Discover Dredging
- Category: History, Discover Dredging
- The Ancient History of the Cutter Suction Dredge ‘10th of Ramadan’, Discover Dredging
- Graduation Omar Karam: Rock Cutting The Egyptian Way, Discover Dredging
- Historical Origins Exhibition at the WODCON: the Beijing-Hangzhou Grand Canal, Discover Dredging
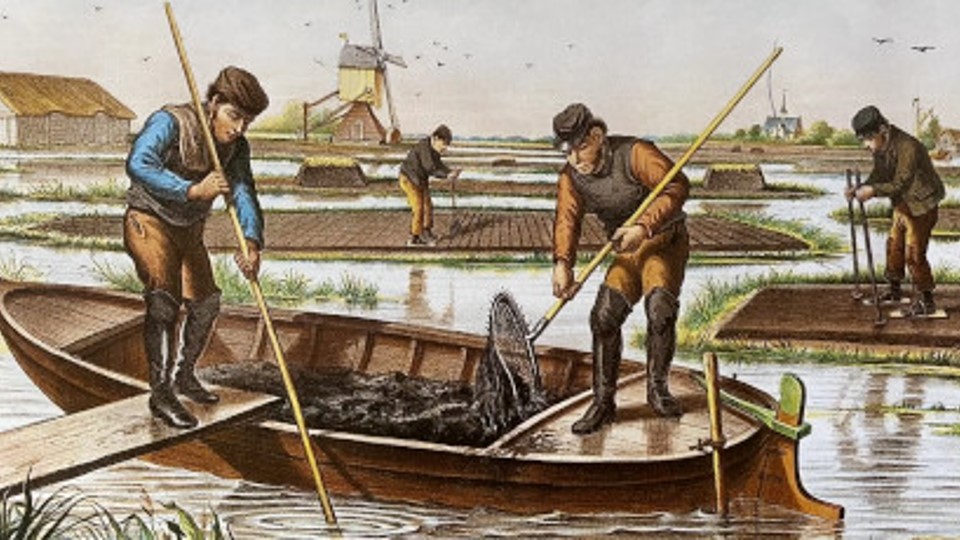
- Paying Tribute to the Hard Life of Peat Dredgers, Discover Dredging
- Banū Mūsā brothers, Wikipedia
- Book of Ingenious Devices, Wikipedia
- Tosho, DredgePoint
- The Closing Process of Clamshell Dredges in Water-Saturated Sand, WODCON